April 9, 2025
How to Use Layer 2s with the BitPay Wallet

The Important Bits
Layer 1 networks are the main blockchain, while Layer 2s offer faster, cheaper transactions by processing off-chain.
The BitPay Wallet supports popular Layer 2 networks, including Polygon, Arbitrum, Base, and Optimism.
Layer 2s provide faster transactions, lower fees, and support for a wide range of tokens
Users can create wallets, send and receive payments, swap crypto, buy crypto, sell crypto, and spend crypto using layer 2s within the BitPay app.
Background on Layer 2 networks
Layer 1 (L1) and Layer 2 (L2) networks represent two different layers within the blockchain ecosystem, each designed to handle different functions.
Layer 1 networks are the base blockchain networks, like Bitcoin or Ethereum, where transactions are processed directly on the blockchain. These networks are designed with decentralization and security in mind, but they can experience higher fees and slower transaction times during periods of high demand. Solutions to improve Layer 1 performance include changes to consensus mechanisms or network structure, but these often require significant updates to the blockchain itself.
Layer 2 networks are built on top of Layer 1 blockchains and help alleviate these limitations. They process transactions "off-chain" or in secondary channels, reducing congestion on the main blockchain and offering faster, cheaper transactions. Layer 2 solutions like the Lightning Network (for Bitcoin) and Optimism or Base (for Ethereum) create a way to conduct transactions that are eventually settled on the Layer 1 network while bypassing the immediate need to have a transaction included in the next block.
In the BitPay Wallet, layer 2 networks provide users with efficient, scalable ways to send, receive, and manage cryptocurrency with lower fees and faster processing.
Which Layer 2 networks does the BitPay Wallet support?
The BitPay Wallet supports several layer 2 networks designed to make transactions faster, more affordable, and compatible with popular blockchain ecosystems like Ethereum. Here’s a quick overview of each:
Polygon: A layer 2 network focused on improving Ethereum’s scalability and lowering transaction fees. Polygon is known for its easy integration with Web3 experiences and is among the most popular Ethereum layer 2 networks.
Arbitrum: Built for seamless Ethereum compatibility, Arbitrum offers efficient transactions with low fees. It’s popular for decentralized finance (DeFi) applications and is compatible with Ethereum-based dApps.
Base: Developed by Coinbase, Base is an Ethereum layer 2 solution optimized for low-cost transactions and ease of use, especially for newer crypto users. It aims to support a range of dApps and Web3 experiences.
Optimism: Optimism is a layer 2 network that supports Ethereum-compatible apps and offers enhanced scalability.
Each of these networks offers unique benefits for BitPay Wallet users, giving them greater flexibility when transacting on Ethereum-based platforms.
Benefits of using Layer 2 networks
Using layer 2 networks in the BitPay Wallet offers several key advantages. Transactions are faster, as they bypass a potentially congested Layer 1 blockchain and settle more efficiently. They’re also cheaper, with significantly lower fees than those on Layer 1, making them ideal for frequent or small transactions. Additionally, layer 2 networks support a diverse range of tokens, providing users with more options for trading, swapping, and managing their assets.
How to use Layer 2s in the BitPay Wallet
Using layer 2 networks in the BitPay wallet is straightforward and convenient. Here we’ll cover all the steps needed to create a wallet, send and receive payments, swap crypto on the layer 2 network of your choice, and buy and sell layer 2 tokens.

Creating a wallet
To use layer 2, first you need a wallet. To create a wallet inside the BitPay app, follow these steps:
On the home screen, select “Create, import or join a shared wallet”
Select “Account-Based Wallet”
Choose your preferred layer 2 network (Polygon, Arbitrum, Optimism, Base)
If creating a new key, you may be asked to back up your seed phrase. Write this phrase down, keep it safe, and don’t share it with anyone.
Once your Layer 2 wallet has been created, you’re ready to start sending and receiving payments.
Sending/receiving payments

Sending a transaction
Sending and receiving payments on a layer 2 in the BitPay Wallet involves a few simple steps, starting from the home screen.
From the home screen, tap “Send”
Select the token you’d like to send (be sure to select your chosen layer 2 network under the “send from” section)
Enter the receiving wallet address
Enter the amount you’d like to send
Review the transaction details
Confirm the transaction and hit send.
Pro tip regarding crypto wallet addresses:
Crypto wallet addresses are long and complicated. For this reason, BitPay gives you multiple options to find, save and input wallet addresses:
Copy and paste addresses from other applications
Scan QR codes, including those created by other wallets providers
Save addresses and create contacts, especially helpful for recurring payments
Send crypto to email addresses (only compatible with other BitPay Wallet users with registered emails)
Receiving a transaction
Receiving a transaction is even easier than sending one. The steps are as follows:
From the home screen, tap “Receive”
Select the L2 wallet and EVM account inside your wallet where you’d like to receive assets
Share this wallet address with the sender or have them scan the QR code if making an in-person transaction
The BitPay Wallet app gives you the power to share your address multiple ways.
Copy and paste your wallet address
Generate a QR code for the sender to scan
Share your email address (only viable if sending and receiving funds between two registered emails both using the BitPay Wallet).
With Layer 1 transactions, it may take several minutes or longer for a transaction to appear and funds to be usable. But with Layer 2 networks, transactions are typically processed in seconds.
Once the payment has been received and confirmed, your transaction will be shown as “Confirmed” in the BitPay app.
Swap crypto on L2 network
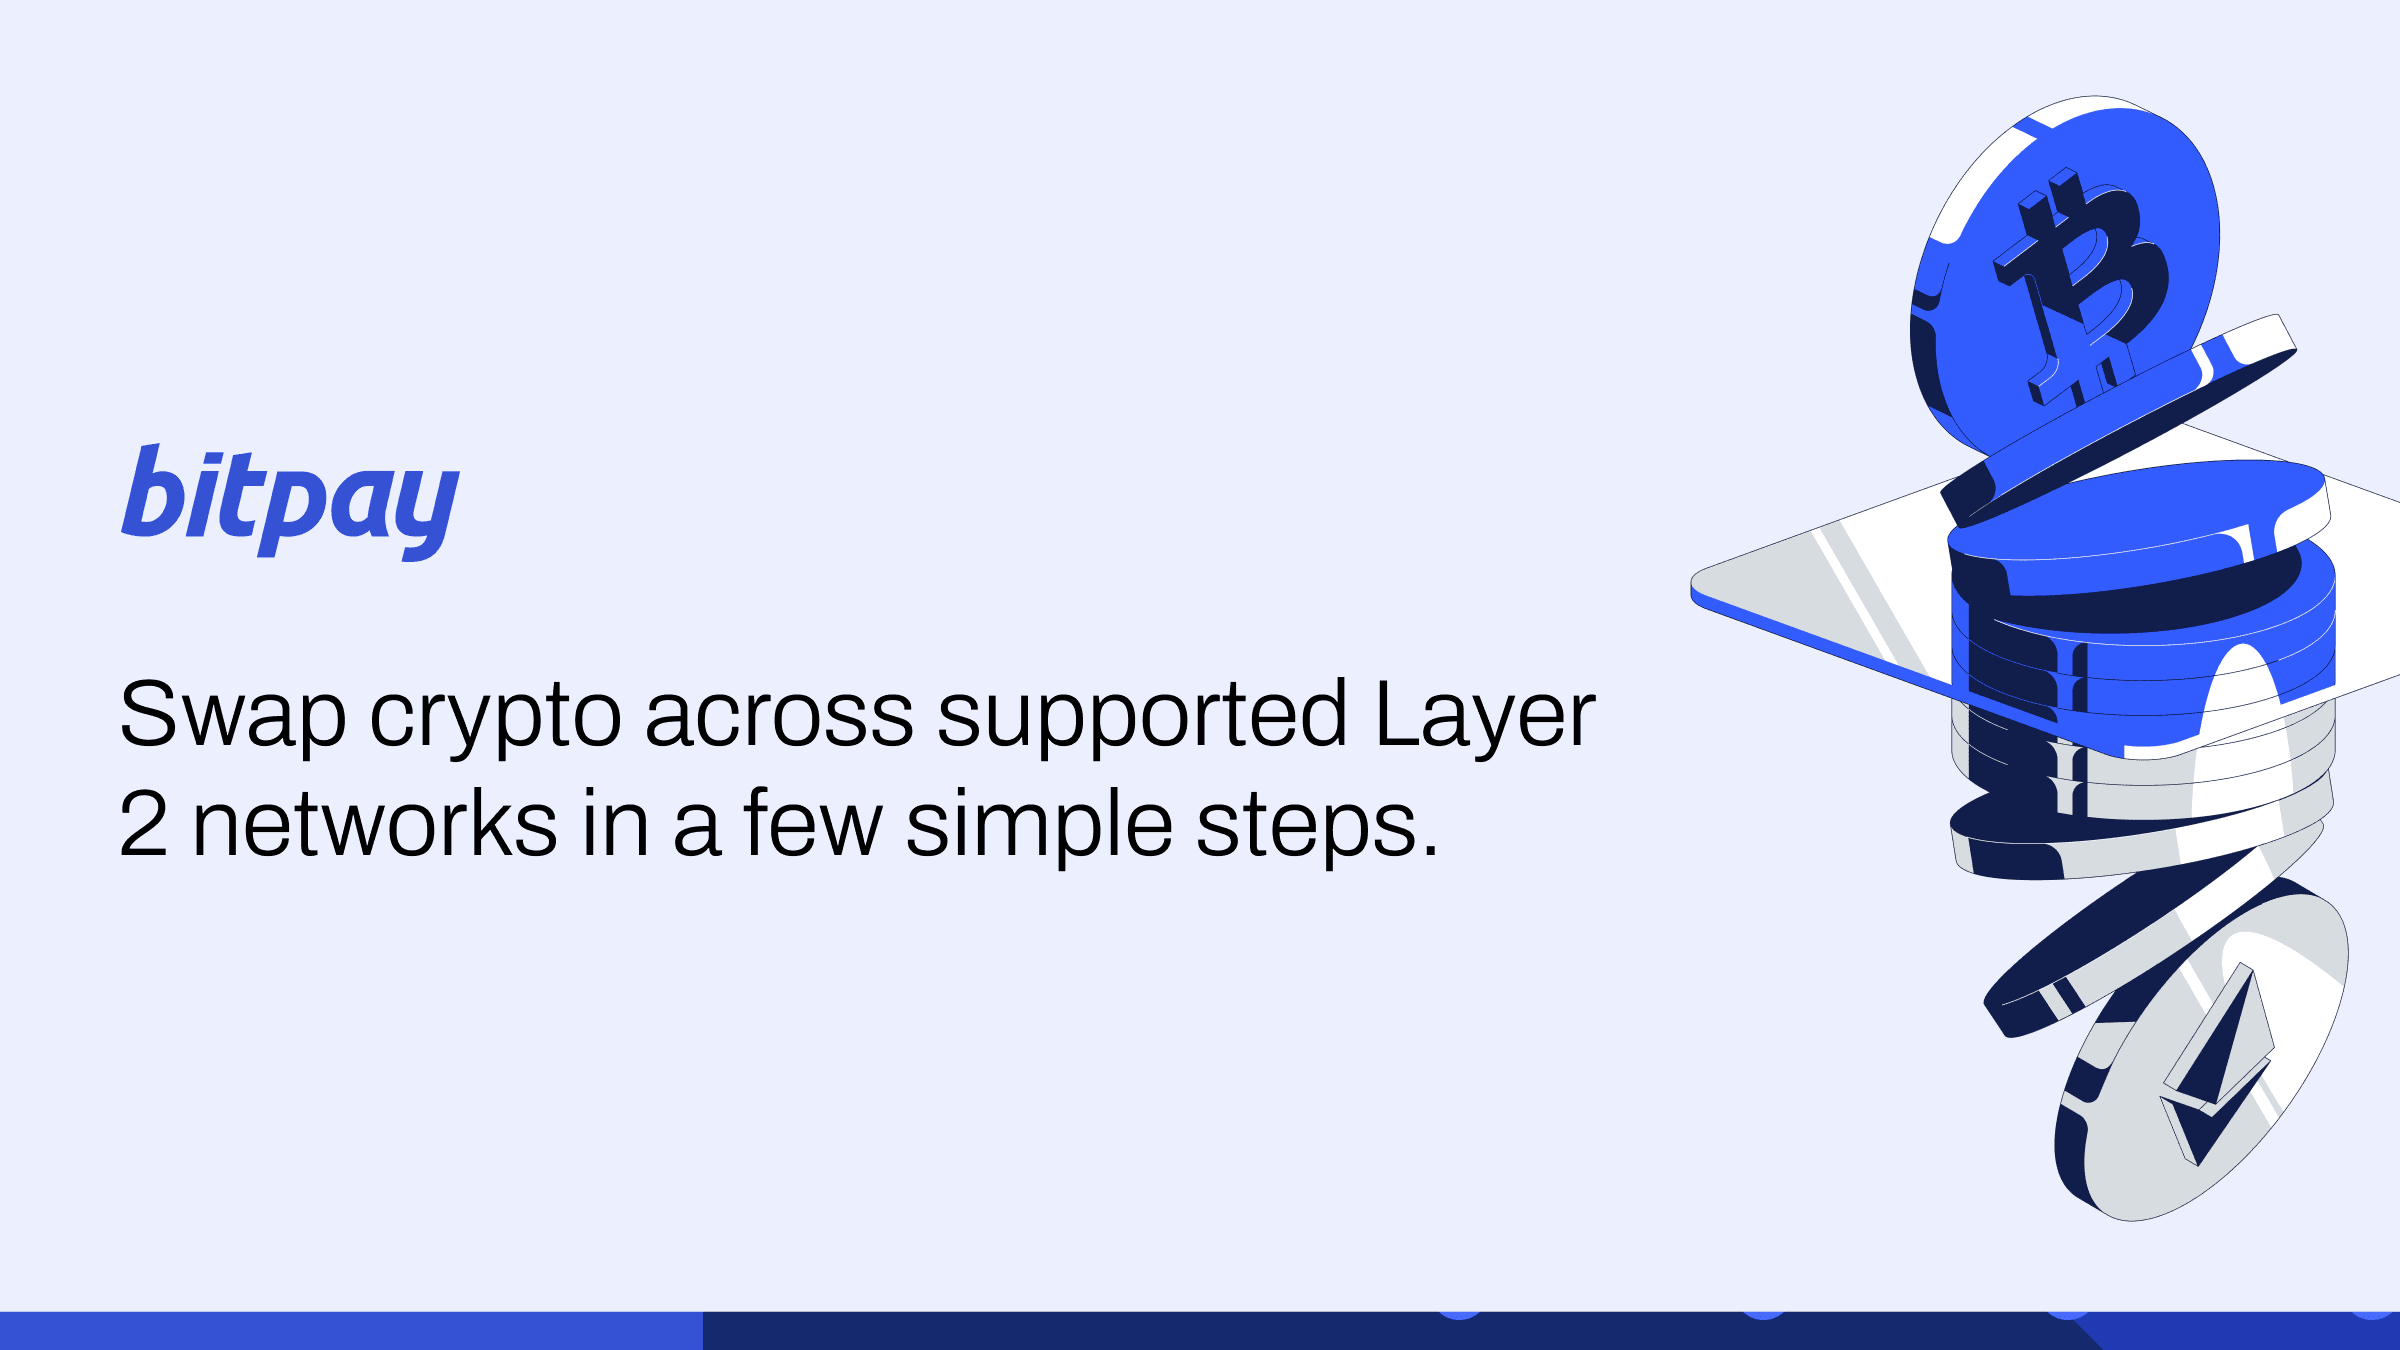
You can also swap between different cryptocurrencies quickly and affordably using layer 2 networks in the BitPay app.
Tap “Swap” from the home screen
Select the wallet and EVM account holding the assets you’d like to swap
Choose the asset you’d like to swap
Select the asset you’d like to swap for by finding the appropriate swap pair (for example, to swap Bitcoin for Polygon, choose “From” Bitcoin and “To” Polygon) and enter an amount, then tap View Offers.
Select your preferred swap rate. Your swapped asset will be delivered to your self-custody wallet.
Buying Layer 2 tokens
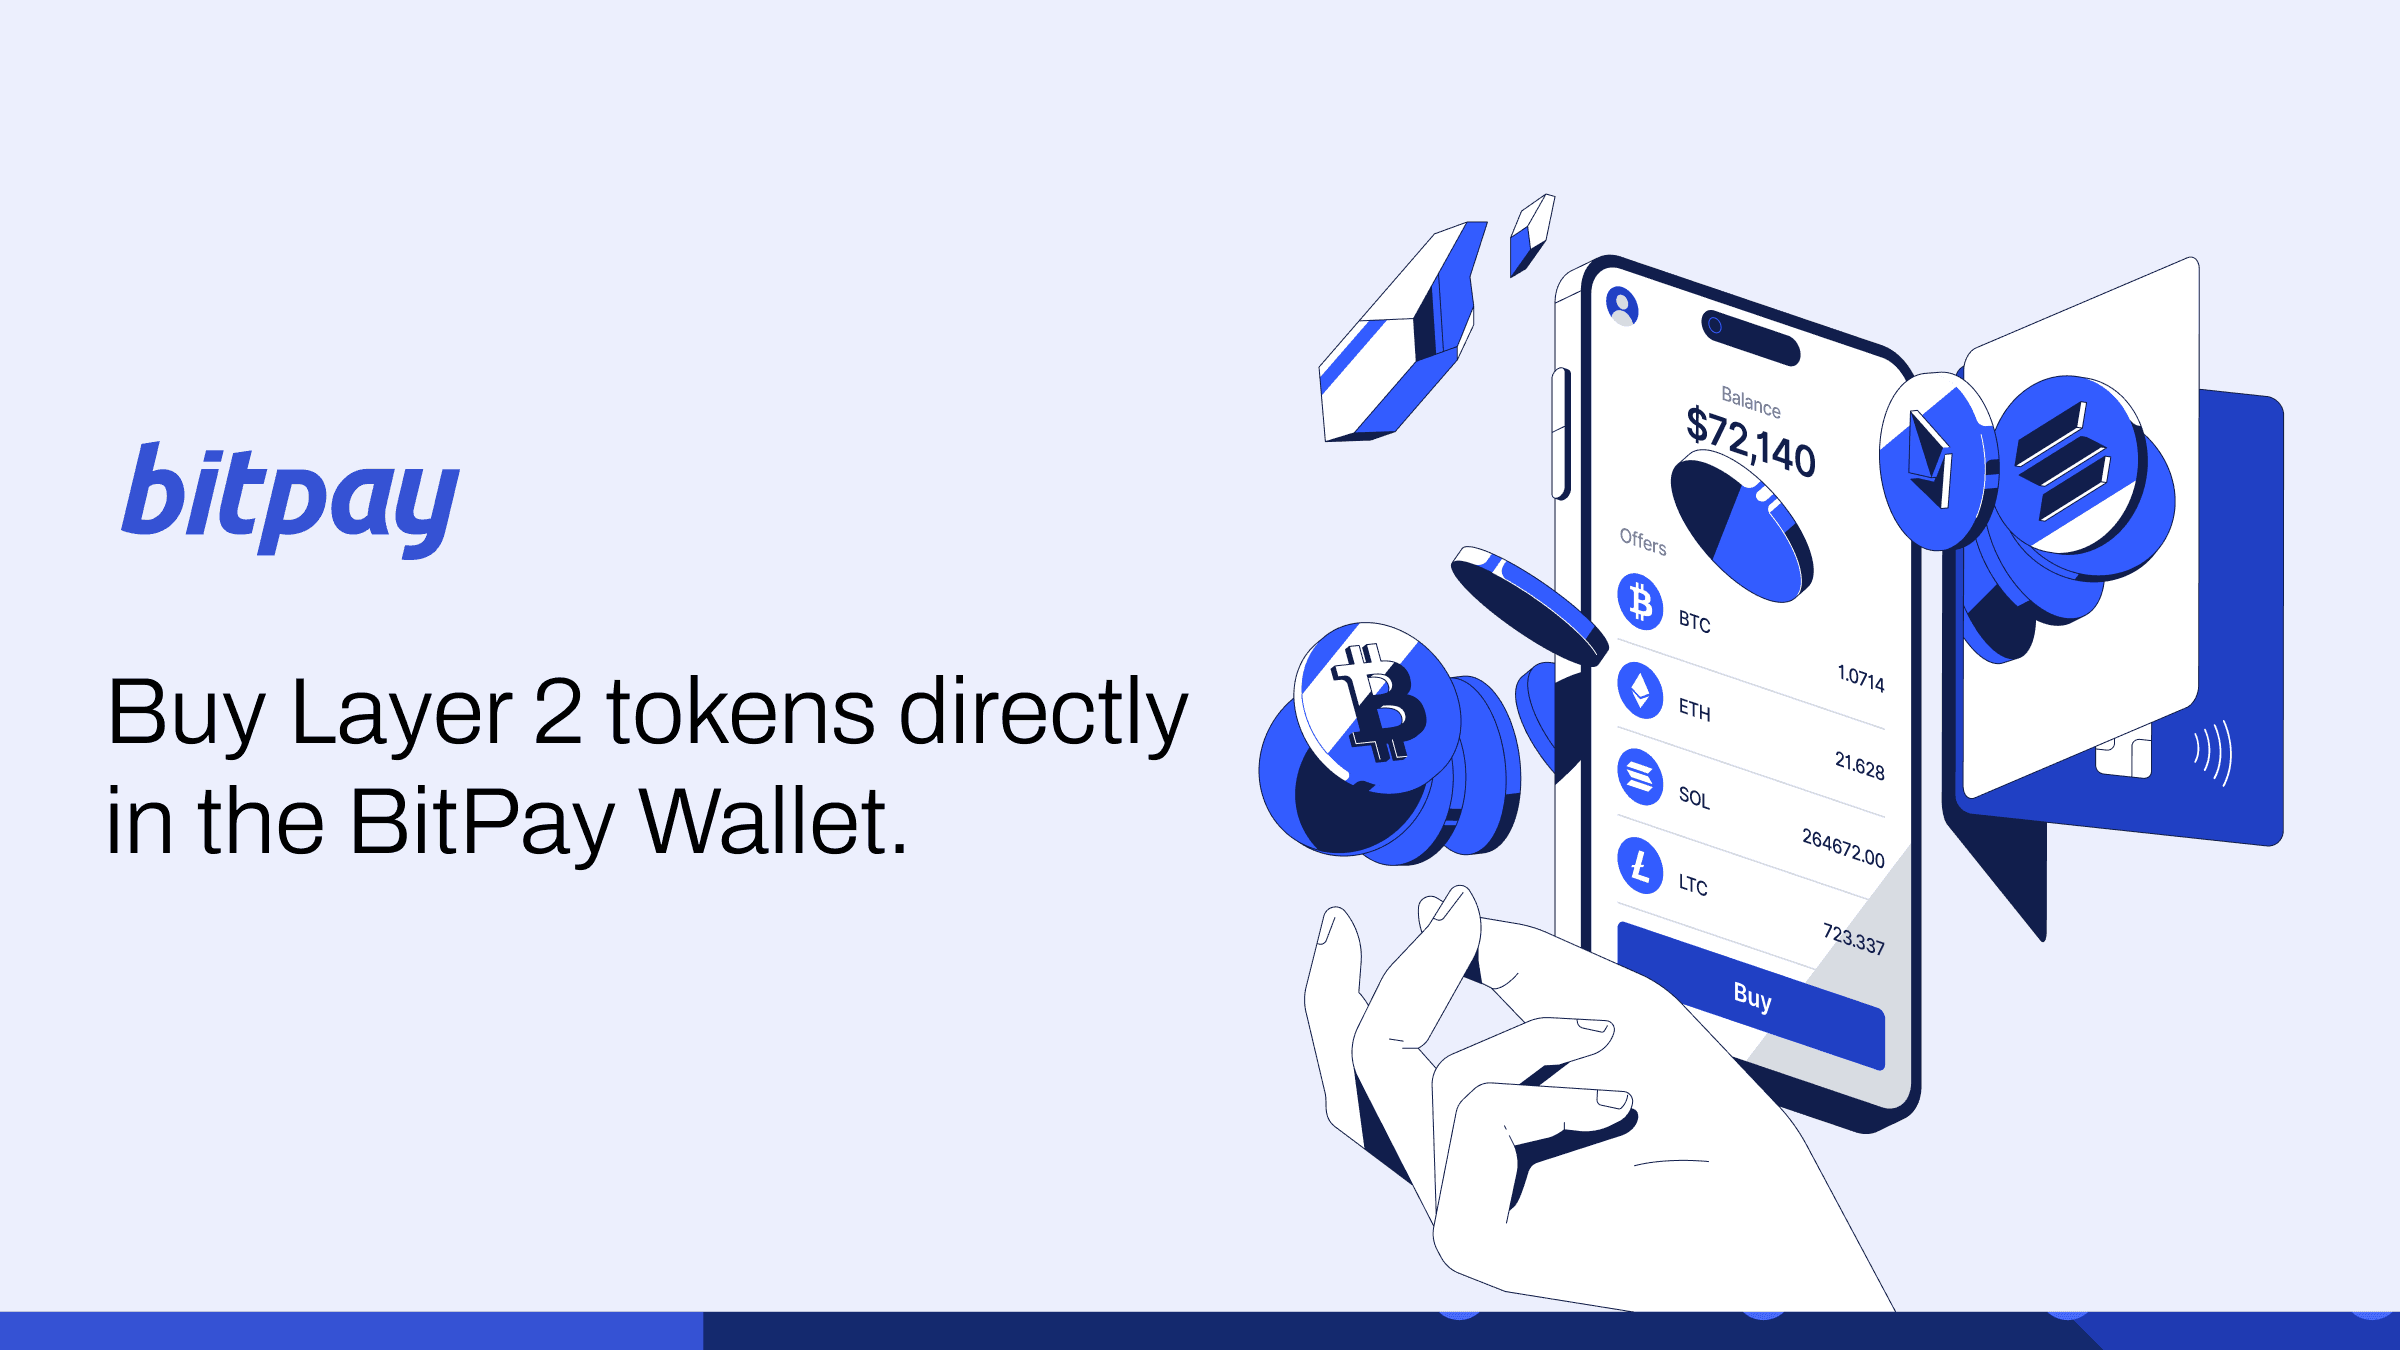
To buy layer 2 tokens, follow these steps:
From the home screen, tap “Buy”
Enter the amount of crypto you’d like to buy and the L2 asset you wish to buy, and the wallet which you wish your assets to be deposited to
Tap “View offers” and choose your preferred rate. BitPay aggregates buy offers from multiple partners so you always get the best rate on your crypto buys
Once you select your preferred rate, you will be taken to the partner website to complete the transaction. Assets will be deposited to your self-custody wallet.
Selling Layer 2 tokens

Now let’s look at how to sell layer 2 tokens inside the BitPay wallet.
From the homescreen, tap Sell
Select the crypto you’d like to sell for cash
Choose your withdrawal method and the amount of crypto you’d like to sell
Review and choose your offer
Send your assets to the receiving address; your cash will be deposited to your selected withdrawal method
Spending Layer 2 tokens

Now let’s look at how to spend layer 2 tokens inside the BitPay app and with BitPay merchants.
BitPay gives its users the power to spend layer 2 tokens in a variety of ways, including spending directly with merchants, buying crypto-powered gift cards, and paying bills with thousands of bill providers.
Once you’ve generated a BitPay invoice for any of these payment options, follow these steps to complete the invoice with your L2 wallet/tokens.
Generate the invoice by checking out with a BitPay Merchant or initiate a payment in the BitPay app
Select the payment wallet and then the layer 2 token
Choose your payment method by scanning invoice QR code or copying and pasting the payment URL or address
Submit the payment
Layer 2 networks in the BitPay Wallet provide a streamlined, cost-effective way for users to manage, trade, and transfer cryptocurrency. With support for networks like Polygon, Arbitrum, Base, and Optimism, users can enjoy faster transactions and lower fees.
Whether sending and receiving payments, swapping tokens, or buying and selling digital assets, the BitPay Wallet makes it easy to take full advantage of these options, empowering users to select the network that best meets their needs for speed, cost, and supported assets.